Difference between revisions of "Tutorials:TS3 HTMG ChapI UVMappingLithUnwrap"
EllaCharm3d (Talk | contribs) (→formatted with images uploaded) |
EllaCharm3d (Talk | contribs) |
||
| Line 169: | Line 169: | ||
| + | |||
| + | {{MTS2ThankThread|2901305}} | ||
== Questions? Problems? == | == Questions? Problems? == | ||
Revision as of 08:12, 25 January 2011
I. UV-unwrapping in LithUnwrap
Verify UV scaling
I1. So, here it is – a quick and dirty explanation of UV mapping concept. The favorite example people always use is the 3D box. It has six sides which you can map to have individual texture. The way we do this is to lay out the box on its side, like unwrapping it.
- The reason this is necessary is because textures are 2D images being placed on 3D objects – round peg in square hole kinda scenario..get it? These set of pics could say it better than I could.
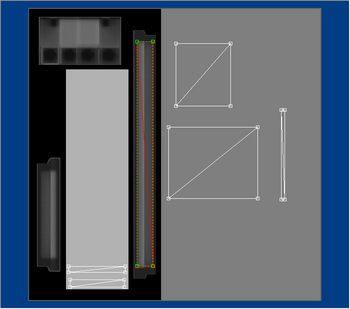
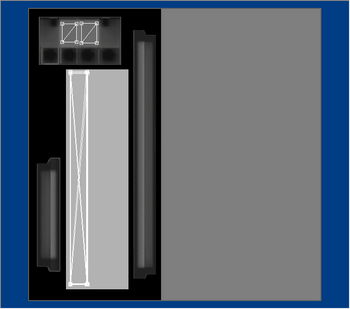
- In the Before pics, the 6 faces for the box are all mapped to the whole texture and so the box’s sides takes up the texture it has been mapped to (all 6 patterns on one side).
| |

|
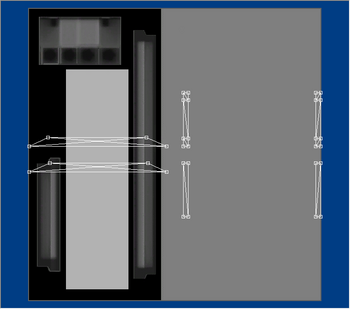
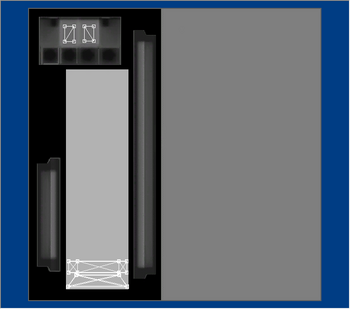
- In the After pics, I have laid out each of the box’s faces on an individual-numbered pattern, so each of the six faces is only mapped to that texture.
| |

|
I2. Revisiting textures.
- We know where the part mask goes and we know the specular provides some shine or _______ (?? tbc ??), so we are mainly concerned with the bump map and the dropshadow. In this project, the table’s shadow mesh is, in fact untouched – same shape and position, so that is also one less concern. Which means we only need to UV map our new table mesh to the bump map.
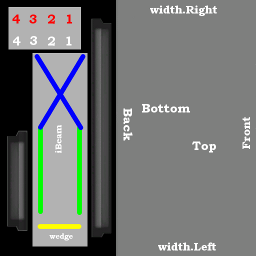
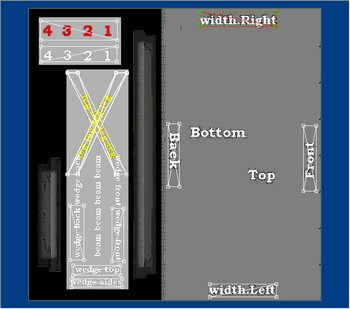
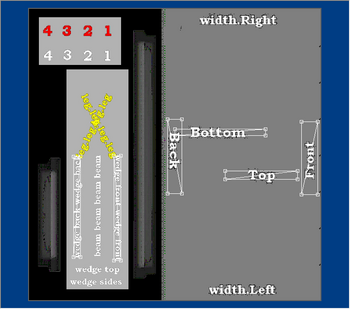
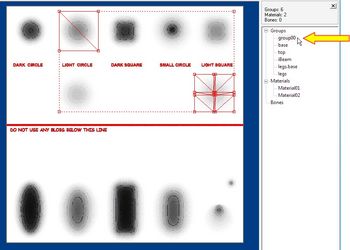
- My first try at UV mapping, I needed a little helper – so I labeled portions in the texture file where I think my ms3d groups would go. It would also act as a guide on where I should move the unwrapped faces to.
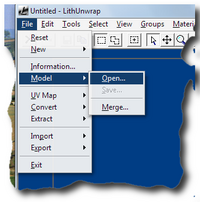
I3. Launch LithUnwrap and load the .obj file we exported from ms3d.
I4. Before making any changes, let us save this file first.
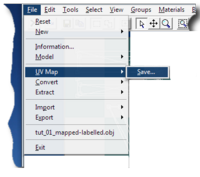
- Save as .obj – will store UV co-ordinates but lose joints/bones information
- Save as .bmp – best done at end of uv-mapping to use as texture if not done before
- Save as .ms3d – can use our mesh and save mapped UV co-ordinates back while maintaining joints/bones information
| I saved mine as an .ms3d file with a “uv-mapped” appended in case I wanted to restore my un-UV-mapped mesh – just a preference, you can do as you like. |
I5. The Toolbar: ![]() can be found below the menu.
can be found below the menu.
- When working with scaling, rotating and so on, the faces might disappear off screen. When this happens, you can either pan around on the screen by pressing
I6. Selections in LithUnwrap can be done from the buttons on the Selection group ![]() .
.
- The default is select by Face (already selected). These can also be found on the Selection menu. Multiple selections can be done by holding down SHIFT key and making another selection, CTRL will remove your last selection.
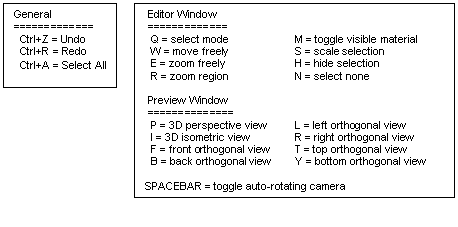
I7. LithUnwrap keyboard shortcuts (found in readme.txt)
I8. UVmapping work – working by group:
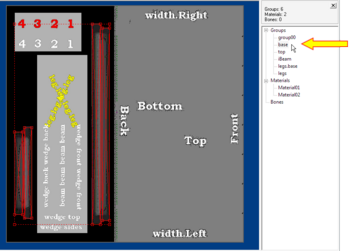
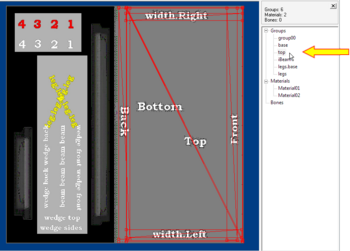
- Starting with "top" group
- From the Groups list on the right, select "top" and CTRL+A to select all.
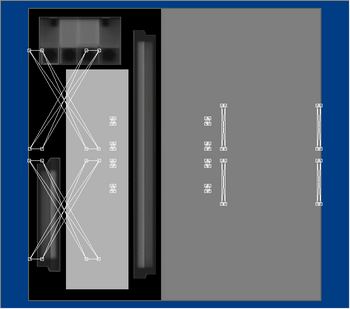
- Let’s unwrap this, go to Tools → UVMapping → Box, accept the defaults and click

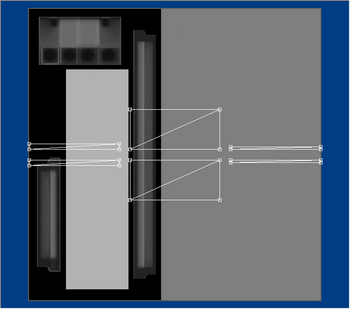
- We get 3 pairs of separated faces of each side of the box
- Move (select, then drag on the red handle),
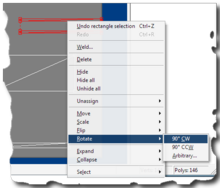
- Rotate (select → right-click → Rotate → choose one - see pic) and
- Scale them to fit our texture areas (keyboard shortcut S – then click-drag the green handle).
- The options in this context menu are also available on the Edit menu
- I just chose the wider set as the Right-Left (width) pair, the thinner set as Front-Back (length) pair and the big boxes are the Top-Bottom pair.
- We can use the "base" length for how long the Front-Back and Left-Right measurements should be.
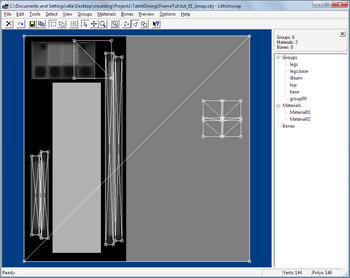
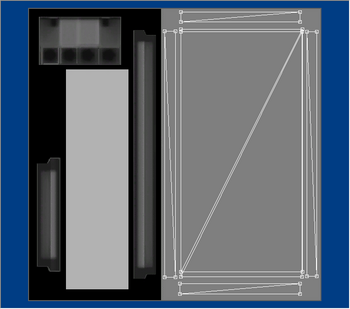
- When finished, mine looks like this
- From the Groups list on the right, select "top" and CTRL+A to select all.
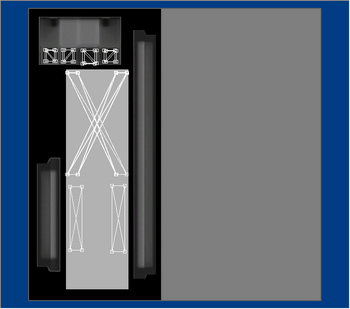
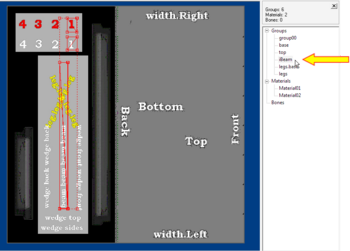
- iBeam next
- The wedge.
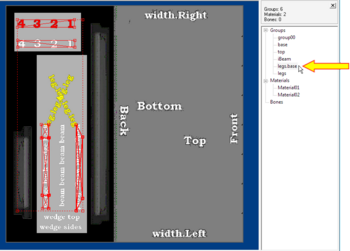
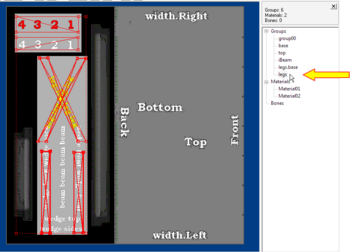
- Working on the legs now.
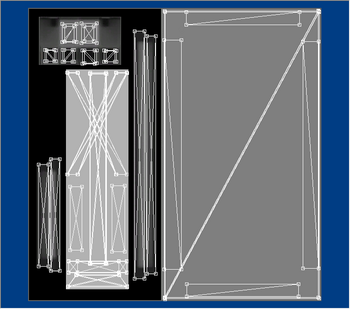
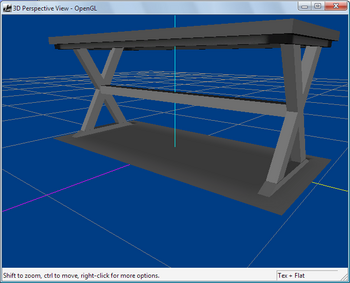
- The final outcome of UV Mapping.
- The left pic : switching from material01 to material02 will load ALL groups assigned to that material so you can view all faces at once per material
- The right pic : 3D view in LithUnwrap. From Preview menu → Show Model
- Looks good doesn’t it? But, we’re not done.
- The left pic : switching from material01 to material02 will load ALL groups assigned to that material so you can view all faces at once per material
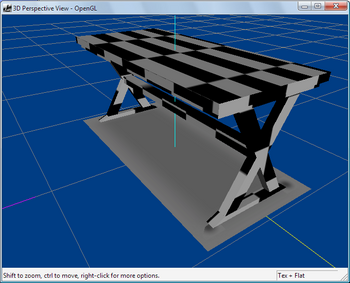
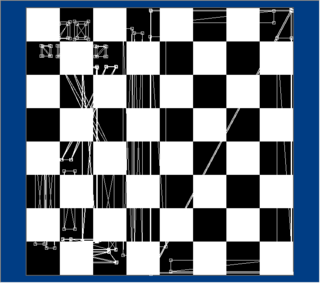
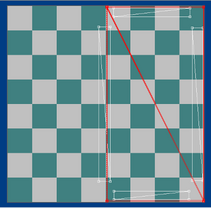
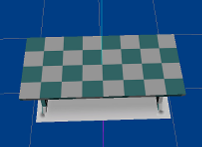
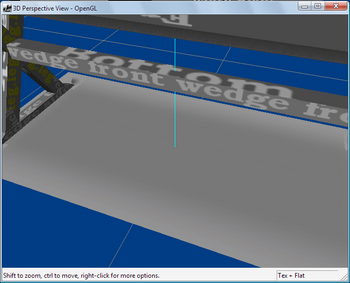
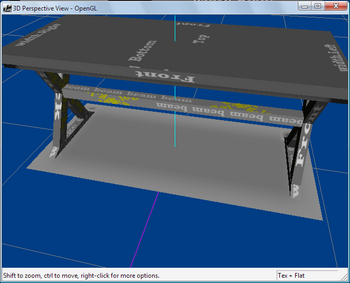
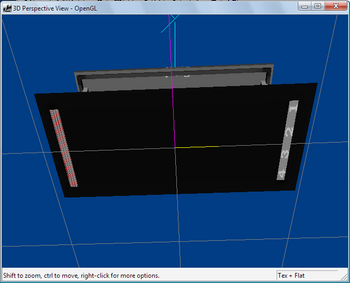
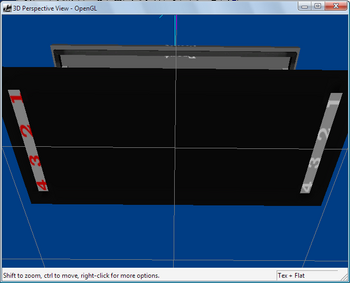
I9. This checkers pattern shows that my uv map is stretched-out wrong. If I were to load this up in game, the pattern will be stretched, too – not pretty! I’ll show you in a second how to load this pattern for you to verify your own mapping, bear with me.
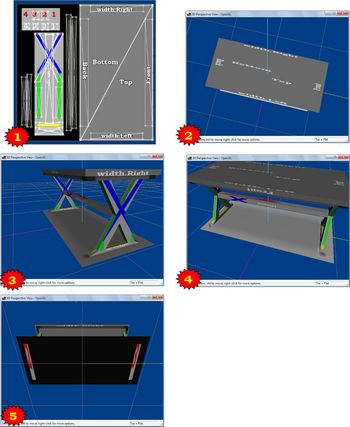
- This next series of pics, shows that the choices I made arbitrarily were wrong as some of the labels are appearing in the wrong areas of my table.
- Eg1 : the top is oriented wrongly – that is why it is stretched (pic 2)
- Eg2 : the red that appears on the top face of the beam was mapped to the numbered leg and is in the wrong proportion – so also stretched (pics 3, 4, 5)
- I need to resize the blue and green areas or use labels instead to check for stretched words, although the top and side faces of the wedge looks fine, the wedge word is a little bit stretched (pic 3)
- Now, while all these mistakes won’t be apparent in-game quite so blatantly because we only have two CaST-able patterns, it will become more obvious for complicated meshes with an intricate multi-colored texture, like curtains.
- We will correct all these flaws next.
- Eg1 : the top is oriented wrongly – that is why it is stretched (pic 2)
I10. There is a feature in LithUnwrap that allows us to see the stretch of a wrongly mapped face
- This is achieved by using the Checkers pattern provided with LithUnwrap.
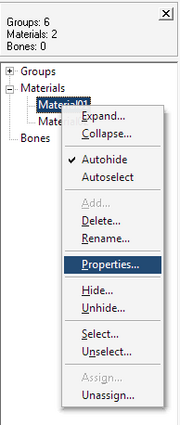
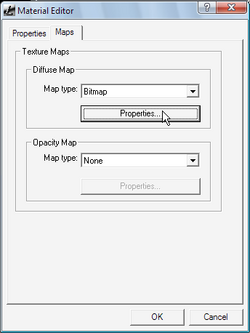
- Right-click on "Material01", go to Properties
- Tab over to Maps
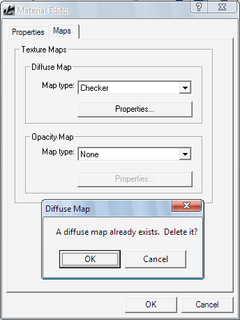
- And from the Map Type pulldown menu, select "Checker"
- Click
 , and you’ll be asked to confirm deletion of the previous image file.
- Click
 again
again
- 3D preview shows the stretch, so we need to fix a few things. Correct mapping will have square checkers pattern instead of rectangles.
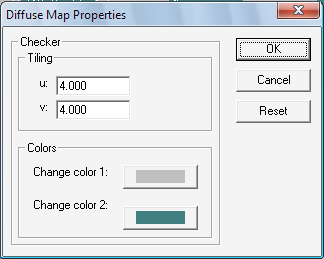
- I have changed my settings as shown in the right pic because the black and white is difficult to work in. To do this, click
 at the Materials Editor screen when you selected the Checkers pattern. There is no save settings button, though. So, when we switch materials to another image, these settings will be reset to default.
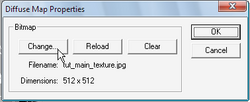
- When we’re done with the checkers pattern and want to reload our original image or you want to work with the labeled version, same steps but the Map Type is Bitmap and we need to click
 .
.
- When presented with the next dialog box, click
 , navigate to the folder of your images and select it, and click
  .
.
- If after selecting the new image and your LithUnwrap screen was not refreshed with the new image, click
 .
.
- Click
 2x to exit out to the main screen.
I11. Fixing flaws. Let’s fix them now. If you have different uv-mapping flaws, you have to analyze what is wrong or re-read and see if there was a mis-step you did. If my suggestions do not help and all else you have tried fails, post in the forum and see if someone knows the answer.
- First, using the Checkers bitmap is the easiest and most straightforward method.
- For those that looked too stretched, I rotated the box faces and re-aligned them to fit the checkers boxes. This is an example.
- I rotated the top’s biggest rectangle face and fit the checkers boxes as follows and the preview shows an improvement as the stretch is gone – 8x4 squares in both the map and 3D views.
- I rotated the top’s biggest rectangle face and fit the checkers boxes as follows and the preview shows an improvement as the stretch is gone – 8x4 squares in both the map and 3D views.
- For smaller faces, I prefer working with labeled image file. I can easily see when the faces have the text inside-out or upside down, means that I have rotated and/or flipped the face wrong way.
- With the "top" group fixed, my next task is on the most problematic groups – the legs.
- So, we now need to carry out the painstaking process of separating faces, moving, scaling and rotating to find the problem areas
- After every change, check in Preview. So, I won’t go through the step-by-step here and put you to sleep. Much better to show pictures, yeah?
- So, we now need to carry out the painstaking process of separating faces, moving, scaling and rotating to find the problem areas
- Continue with other groups until you’re done.
I12. End result:
I13. That’s it! All done with UV mapping; save as and bring back into Milkshape.
- Save as your preferred file format that ms3d will recognize and import.
- save as .obj or
- save as .ms3d
- I don’t know at this point what the pros and cons are choosing one format over the other. If anyone has any insight, do share.
Questions? Problems?
- If you encounter any problems with the steps outlined in this tutorial and need help, head on over to the Step-by-step Start-to-Finish HowTo mesh guide for TS3 thread to post your questions or
- If you need help in fixing your mesh, you may want to browse through our TS3 Meshing FAQs for some of the more common Meshing issues and their fixes or
- If none of the above links provided any help, you may want to browse through the threads in MTS' Meshing Forum or even start your own thread.
| |
|
TS3 HTMG ChapI UVMappingLithUnwrap | |
|
