MTS2:Creator Guidelines/Sims 3 Lots and Houses/Sandbox
Contents |
Sims 3 Lot Upload Guidelines
When uploading a lot for The Sims 3 to Mod The Sims, we have some basic requirements to ensure that your upload is good, shown well, and has the correct info and files needed for people to use it in their games. This allows both moderators to check your uploads for quality, and for downloaders to see if your item is something they want to add to their games.
Quality
|
| Quality-Related Tips |
|---|
|
Files
| Packaging your lot | ||||
|---|---|---|---|---|
|
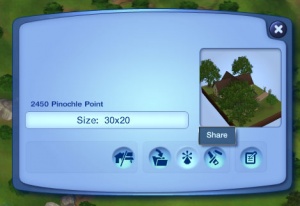
Once you have finished building your lot in the game, you will need to save, then Edit Town. Select your lot and click the Share button on the lot panel. Enter the lot name and description on the next screen, and then click the checkmark. When it's done, you'll have a new .sims3pack file. Lots are saved to the Exports folder: My Documents\Electronic Arts\The Sims 3\Exports
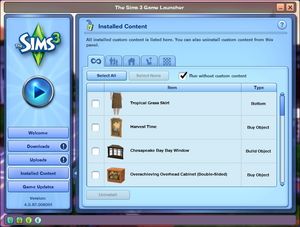
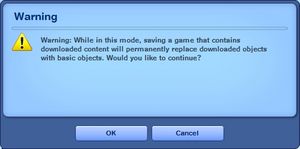
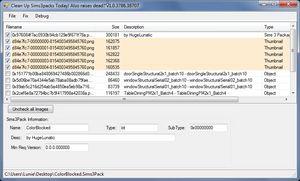
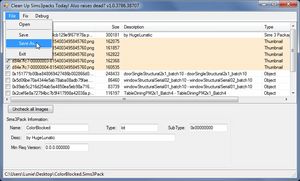
At this point, you might also want to consider the following: Did you use CC when making the lot? If the answer to that question is no, great, you'll have it really easy filling out the required information for your lot. If you answered yes, there are a few things you need to consider: Should I package my lot with no CC in it? There are two file types of CC: .package-files, and .sims3pack-files. Package files never include themselves in your lot file, but sims3packs do. If you have used sims3pack content, you may need to clean your lot file in following cases, so that the files are not actually included:
Here are few ways to clean up your lot file, hit more info to show the 'how to':
|
| Compressing your file |
|---|
|
To upload your file(s) to MTS, you will need to compress them into an archive file, which makes them smaller and allows you to include many files in one download. The archive file formats we currently accept are .zip, .rar, and .7z. For instructions on compressing your files into an archive, please see: Creator Guidelines: Creating Archive Files. |
Information
| Title & Description |
|---|
| Give your upload a descriptive title and write a text description for your upload, describing what you're uploading. Your title and description must be in English or provide an English translation. If you are not a native English speaker, using Google Translate is okay. You can also ask for help writing your description in the Creator Feedback Forum. |
| Required information |
|---|
More info about custom content, how to tell what gets included or not, what kind of CC is allowed and what isn't, below on the Custom content section. |
| Custom content |
|---|
|
put stuff here |
| Game version and required EPs/SPs |
|---|
|
In TS3 lots can be installed regardless of the expansions (EPs) or stuff packs (SPs) it was built with, as long as the downloader has the same patch version or greater. EP/SP specific content will just leave empty spaces. If you've used a considerable amount of content from an EP/SP you must list it as being required. Please list the base game version that the lot was built with. Finding Game Version
|
Screenshots
The only way people can see your lot before downloading and checking it out in game is from the screenshots you take for your upload. Taking clear, large screenshots (as a rough guide you should aim for at least 600 pixels on the smaller side) will encourage people to look at and download your lot.
| You'll need to include at least: |
|---|
Please remember, for your required pictures:
|
| You may also want to include: |
|---|
|
| Screenshot tips |
|---|
| Camera Controls:
Take some time to just play around with the camera. It can take a while to get used to the camera controls, and even once you are experienced in their use, it may be challenging to get the shot you want with the constraints on the controls. If you haven't taken many sim pictures before, here is a list of camera controls:
Using Print Screen: If you have enough RAM to run Photoshop or another graphics editing program at the same time as TS2/TS3, you may want to take screenshots yourself, without the use of a program to store them for you. To do that, simply press the Print Screen or PrntScn key on your keyboard - it's usually off toward the right, over the arrow keys, above Insert and Delete. This will copy your current screen to your Windows clipboard, as if you had selected and copied it as an image. Then open any graphics editing program, create a new document the size of your monitor's resolution, and paste into that document. Your screenshot should appear in the document.
There are many programs available, free and pay, that will take screenshots for you by using a hotkey, and save them to a folder - just like The Sims 2 with the C key, but with options for much better quality settings. A quick Google search for 'free screenshot program' will also bring up many other options, which may have other features that are of interest to you.
Many simmers struggle with getting their images to be clear, crisp and under the maximum file size while keeping the image size larger than 800px by 600px. After getting your images from the in game camera or using a print screen program you will need to resize them and compress them into a jpeg image. Many graphics programs have a built in optimizing feature. Here are a few common ones: |
Other
| Uploads not allowed on MTS | ||||
|---|---|---|---|---|
These items are not allowed on MTS in any category.
|
- If your upload is rejected or marked as changes required and you're not sure why, ask in Creator Issues.
- If you're not sure whether your lots are ready for uploading, use the Creator Feedback Forum to get feedback on it.
