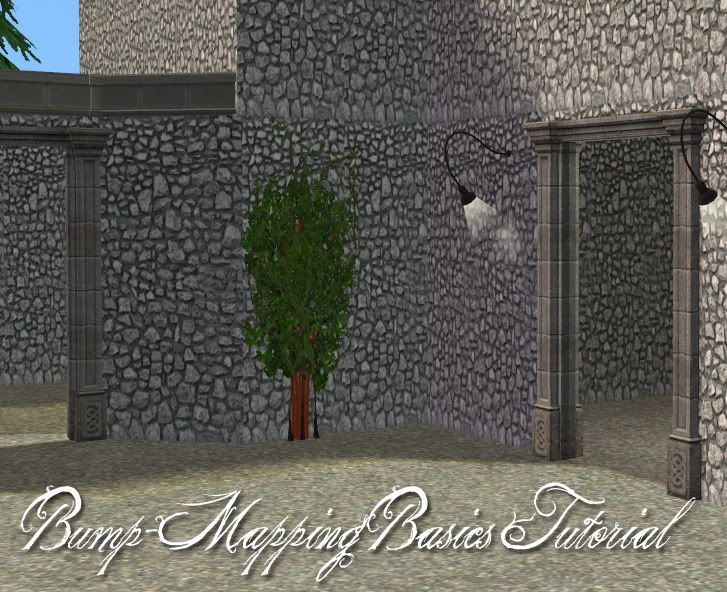
Wall bump mapping
http://i282.photobucket.com/albums/kk266/Manga_Moon3/full.jpg
This tutorial will take you through how to add bump-maps (and roughly show you how to create a bump-map) to walls and floors in the Sims 2. You don't often see walls with bump maps, but believe me you will get a fantastic result if you bump-map your walls!
Let's get started. For this tutorial you will need;
http://i282.photobucket.com/albums/kk266/Manga_Moon3/MTS2_tiggerypum_650640_pickstar-tin.gif SimPE
http://i282.photobucket.com/albums/kk266/Manga_Moon3/MTS2_tiggerypum_650640_pickstar-tin.gif A Graphics Editor (Adobe Photoshop recommended)
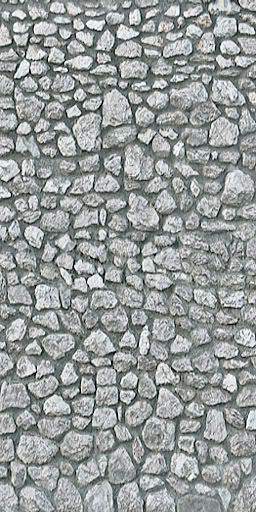
Step 1: Gather your textures. I'll start off with a simple stone texture, the one shown below:
http://i282.photobucket.com/albums/kk266/Manga_Moon3/main1.jpg
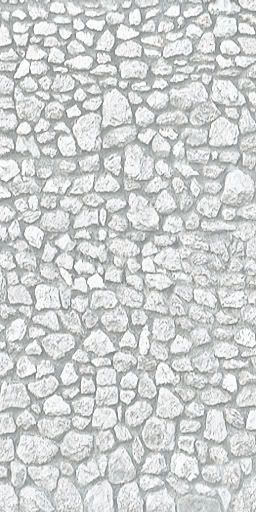
Step 2: Making a rough bump map. I will use Adobe Photoshop CS3, but the commands are really simple and you should be able to do this with almost any version of Adobe Photoshop. There are many ways you can make your bump map, but I'll show you the easiest and most efficient way. First of all desaturate your image (Your bump-map MUST be in greyscale or it will not function correctly). Then how I did it was create a new layer, colour it completely white, and adjusted the opacity until you get the rough look you want. Remember: the darker the shadows, the deeper your bump-map will be! Once I had finished, I had something that looked like this:
http://i282.photobucket.com/albums/kk266/Manga_Moon3/bump1.jpg
There are other things you can do, such as blur it, adjust the contrast, and maybe sharpen it if you like.
Step 3: Making your wall (And the technical stuff). Open up Object Workshop in SimPE, and clone a wall (Found in others). Then inport your images using the Built DXT function, but make sure your wall is DXT1 Format, and that your Bump Map is Raw8BIT *This WILL change after importing.*
Commit and Fix Integtiry. Then in the Resource Tree, go to XOBJ, and replace the file name with this one *exactly* 'aaaaaaaaaaaaaaaaaaaaaaaaa' (Just copy and paste or count :P) Again fix integtiry and save your package file. Test in-game.
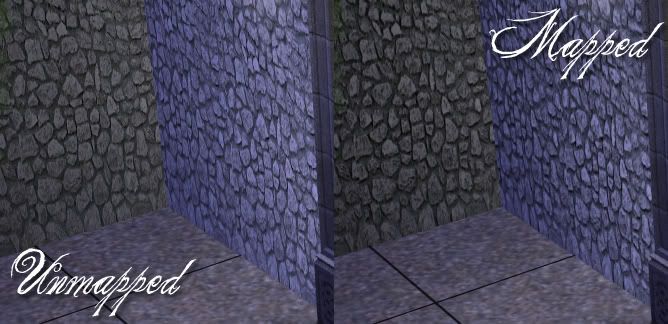
If you followed this tutorial correctly, your walls should look 3D, and should reflect in-game light.
This shows the different betwen a mapped and an un-mapped wall:
http://i282.photobucket.com/albums/kk266/Manga_Moon3/comparison.jpg